Overview
Soccer Coach Board is a visual tool for soccer coaches to design formations, plan set pieces, draw up drills, and animate player movements. Everything runs in the browser — no installation required.
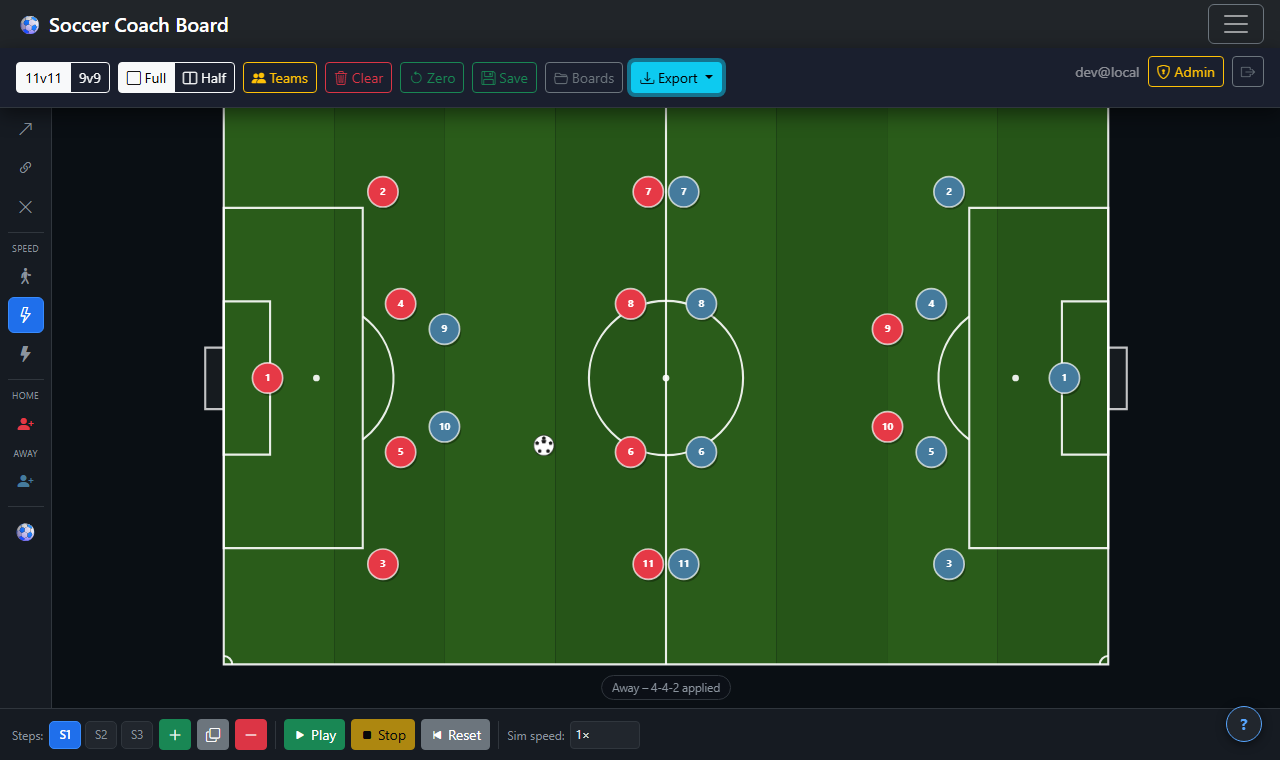
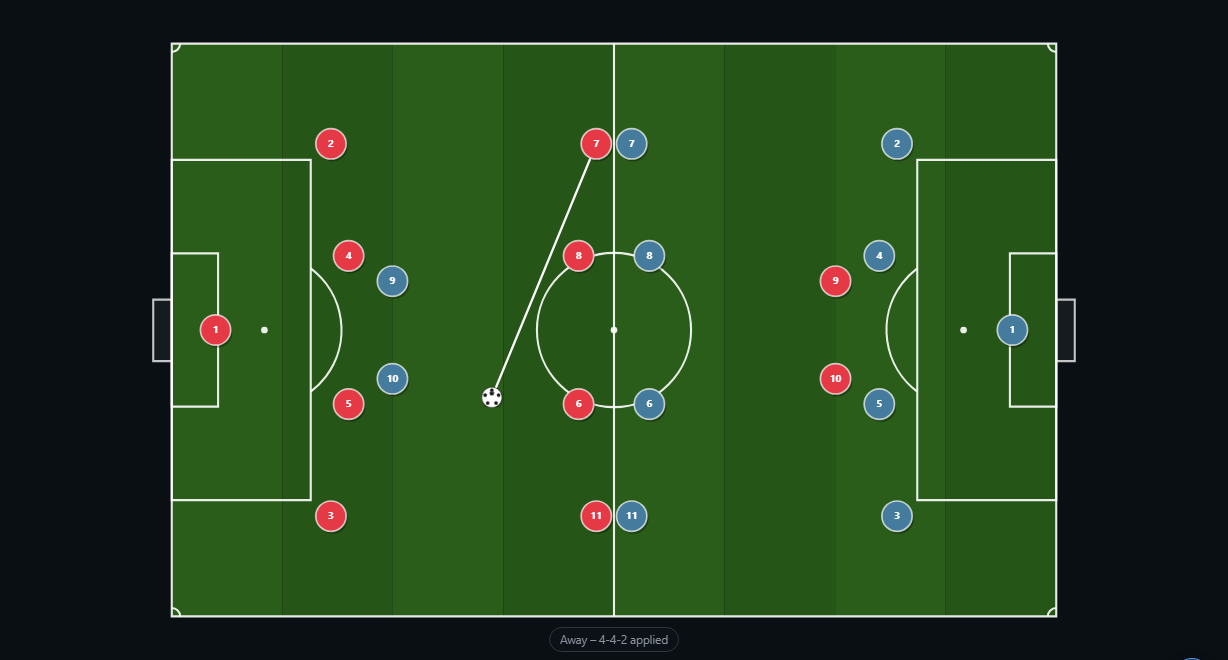
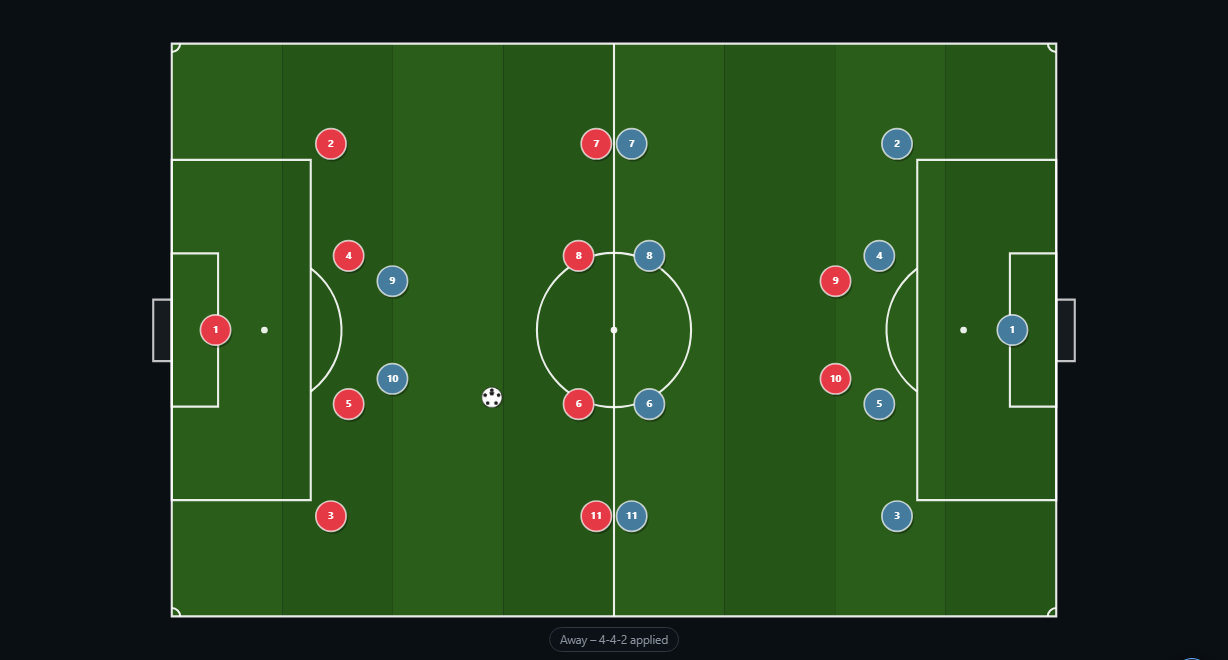
The full app: both teams in a 4-4-2 formation, with the steps panel and toolbar visible.
The Field
The main canvas displays a top-down view of a soccer field with all standard markings: sidelines, center line, center circle, penalty areas, goal boxes, and goals.
Field Modes
Toggle between Full and Half field using the buttons in the top menu:
- Full field — Shows the entire pitch. Both teams are visible and play flows from end to end.
- Half field — Shows only one half. Useful for designing set pieces, corners, and attacking/defensive shape drills. Any number of players can still be placed on either side.
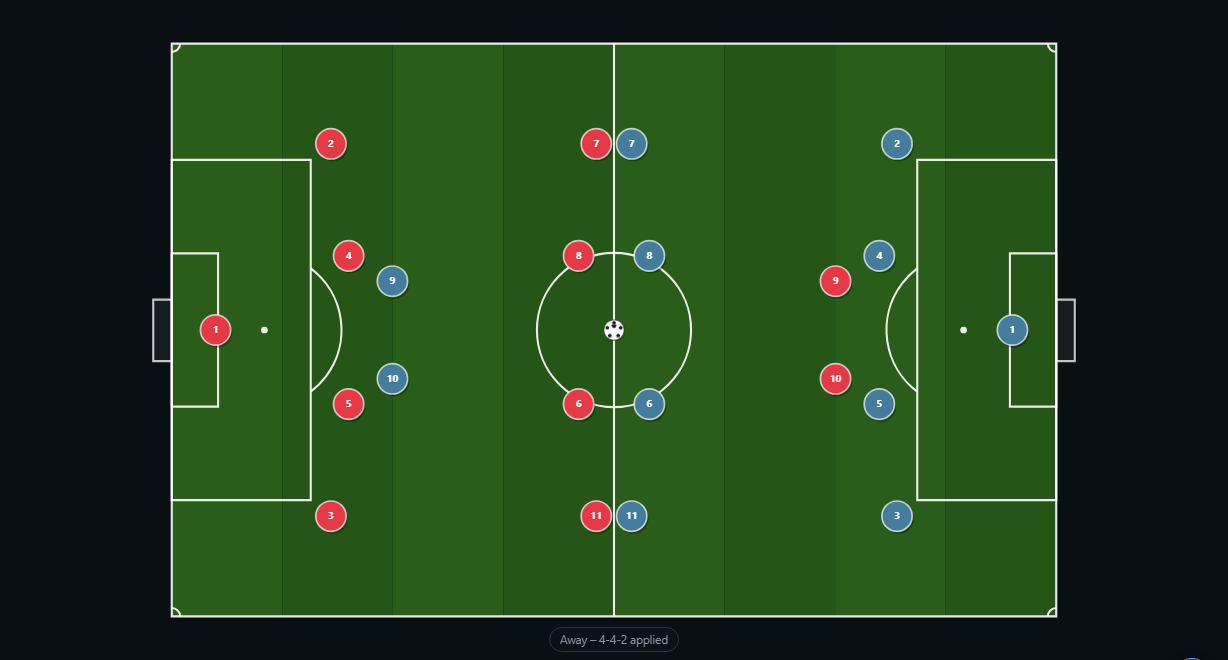
Full field — both teams visible across the entire pitch.
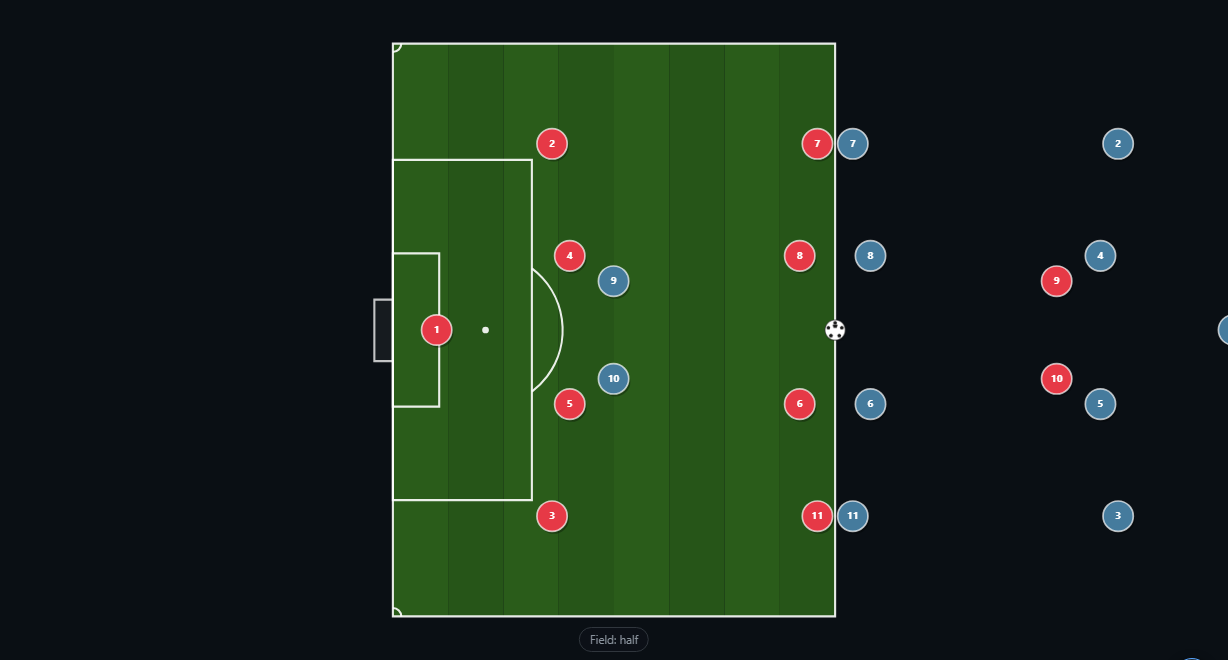
Half field — focused view, ideal for set pieces and shape work.
Game Modes
- 11v11 — Standard soccer: up to 11 players per team including a goalkeeper.
Players & Ball
Adding Players
Players appear as colored circles with jersey numbers. To add them to the field:
- Click the icon in the left toolbar under Home or Away to place the next available player from that team.
- Alternatively, use Teams → Apply Formation to auto-place an entire team at once.
Moving Players
With the Select tool active, drag any player circle to reposition it on the field. The player's position is saved to the current step.
Player positions are per-step — moving a player in step 1 does not change their position in step 2 unless an arrow points them there.
The Ball
- Click ⚽ in the left toolbar to place a ball on the field.
- Drag the ball to position it anywhere on the field.
- Snap to player: Drag the ball onto a player — it snaps to them and moves with that player during simulation.
- Ball pass: Draw an arrow from the ball to another player (or field position) while using the Arrow tool. The end of the arrow snaps to the receiving player, indicating a pass.
- Only one ball can be on the field at a time. Clicking ⚽ again when a ball already exists selects / re-positions it.
Tools
The left toolbar contains the active tool. Click a tool or use the keyboard shortcut to switch.

The left toolbar.
Select V
Drag players and the ball to reposition them. Click a player to select them — selected players show a highlight ring. Click empty space to deselect. Holding Shift or tapping multiple players adds them to the selection (used with multi-arrow drawing).
Arrow A
Draw movement arrows. Click and drag from a player or the ball to draw where they should move. Release to place the arrowhead.
- The starting end of the arrow is always anchored to the player or ball.
- To draw a curved arrow: right-click (or long-press) on an arrow and choose Toggle Curve. Drag the curve handle to reshape it.
- While drawing an arrow from a player, the arrow will not snap to other players (to allow precise placement).
- When drawing from the ball, the tip will snap to a player, indicating a pass.
Connect C
Draw dotted lines between two players to indicate a positional relationship (e.g. marking, defensive shape, distance awareness).
- Click the first player, then click the second player to create a line.
- Lines are anchored to both players and stretch as players move during simulation.
- Multiple lines connecting different pairs of players are allowed.
- Deleting either player automatically removes all lines attached to them.
Delete D
Click any player, arrow, or connection line to delete it. Deleting a player also removes all arrows and connection lines attached to that player.
Movement Arrows
Drawing Arrows
Select the Arrow tool, then click-and-drag from a player (or the ball) to where they should move. Release to finish. The arrow is anchored to the player's current position in the current step.
To delete an arrow, switch to the Delete tool and click it, or right-click and choose Delete.
To curve an arrow, right-click it and choose Toggle Curve. A control-point handle appears — drag it to shape the path.
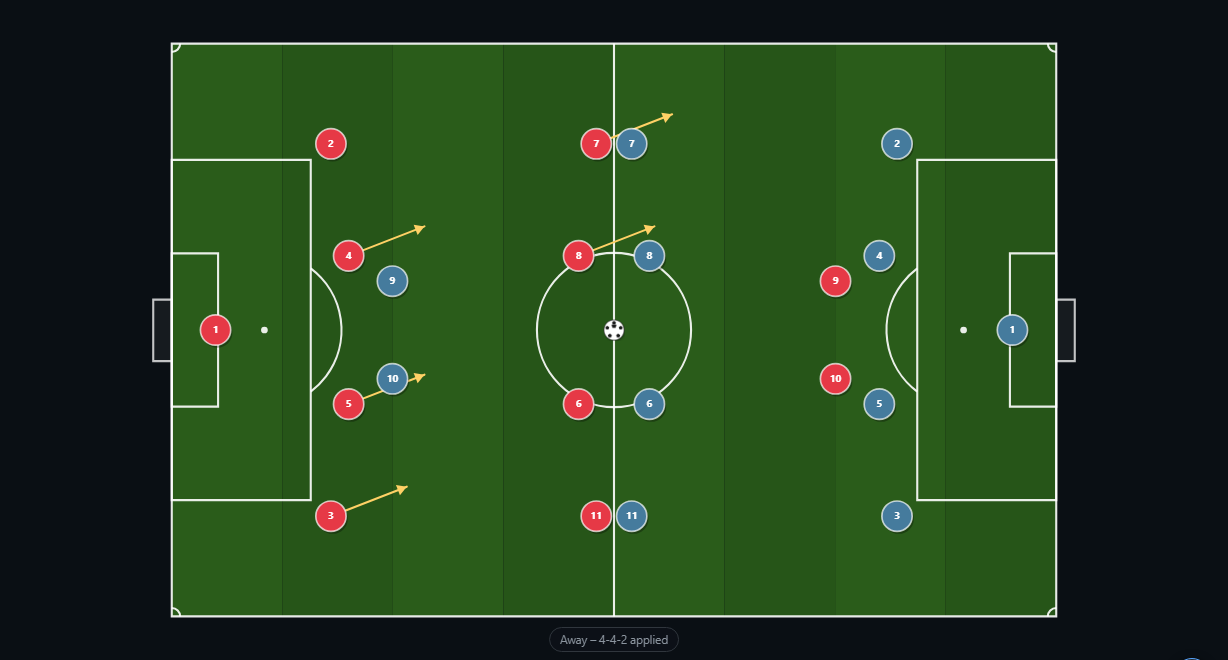
Five Home players with movement arrows showing a coordinated press.
Multi-Select & Parallel Arrows
You can draw arrows from multiple players at once:
- Switch to the Select tool.
- Click each player you want to move together (they highlight with a selection ring).
- Switch to the Arrow tool.
- Drag from any one of the selected players — all selected players get a parallel arrow pointing in the same direction and distance.
Arrow Speed
Each arrow has a speed that determines how fast the player moves during simulation. Set the default speed in the left toolbar before drawing, or right-click an existing arrow to change it:
- Walk — slow jog
- Run — comfortable running pace (default)
- Sprint — full speed
Ball arrows have two speeds: Soft Pass (a gentle roll) and Hard Pass (a driven ball).
Ball Passes
Draw an arrow from the ball to another player. The arrowhead snaps to the receiving player, indicating a pass. When the simulation runs:
- The ball travels along the arrow path.
- If the receiving player also has a movement arrow, the ball automatically leads to their destination (smart pass).
- After the step completes, the ball snaps to the receiving player at the start of the next step.
A hard pass arrow from the ball to a forward — the arrowhead snaps to the receiving player.
Connection Lines
Connection lines are dotted lines drawn between two players (using the Connect tool). They are used to visualise spacing, marking relationships, or shape cues.
- Lines stay anchored to both players and update in real-time as the simulation runs.
- Any number of lines between different player pairs are allowed.
- Connection lines are saved with the board and visible in every step.
- Deleting a player removes all connection lines that include that player.
Dotted connection lines anchored between defenders, showing the defensive shape.
Steps
A board contains one or more steps. Each step holds a snapshot of player positions, arrows, and ball state. Steps let you build a multi-phase play sequence — for example: press trigger in step 1, defensive shape in step 2, counter-attack in step 3.
The steps panel is at the bottom of the screen:
- — Add a new step. The new step starts with player positions carried forward from the current step's arrow destinations.
- — Duplicate the current step (copies all positions and arrows).
- — Delete the current step.
- Click a numbered step button to jump directly to that step.

The steps panel — numbered steps along the bottom plus add/duplicate/delete controls.
Simulation
Press Play to animate all steps in sequence. Players move along their arrows at the configured speed. The ball follows its arrow (or the carrier if snapped).
- Stop — Pause the animation at any time.
- Reset — Stop and jump back to step 1.
- Sim Speed — Multiplier for playback speed (0.5× to 2×). Does not change the relative speeds of arrows — all arrows scale together.
During simulation, players cannot be dragged (interaction is re-enabled when stopped).
Teams & Formations
Team Configuration
Open Teams in the top menu to configure both teams:
- Name — Give each team a custom label (displayed in the toolbar).
- Jersey Color — Set the fill color of the player circles.
- Number Color — Set the color of the jersey number text inside each circle.
Built-in Formations
Choose a formation from the dropdown to auto-place a full team on the field in the correct positional shape. Available formations include:
- 4-4-2, 4-3-3, 4-2-3-1, 4-1-4-1, 4-5-1
- 3-5-2, 3-4-3
- 5-3-2, 5-4-1
- GK only (goalkeeper only)
Click Apply Formation to place Team A or Team B. Click Apply Both Formations to set up both teams at once. Team B's formation is automatically mirrored so that "left" and "right" positions are correct relative to each team's attacking direction.
Custom Formations
Save the current player positions as a reusable custom formation:
- Position Team A or Team B's players exactly as desired.
- Click the button next to the formation dropdown.
- Enter a name and click Save.
Custom formations appear in the formation dropdown under a ── Custom ── section with a ★ prefix. They are saved to your account and available on any device. To delete a custom formation, select it in the dropdown and click the button.
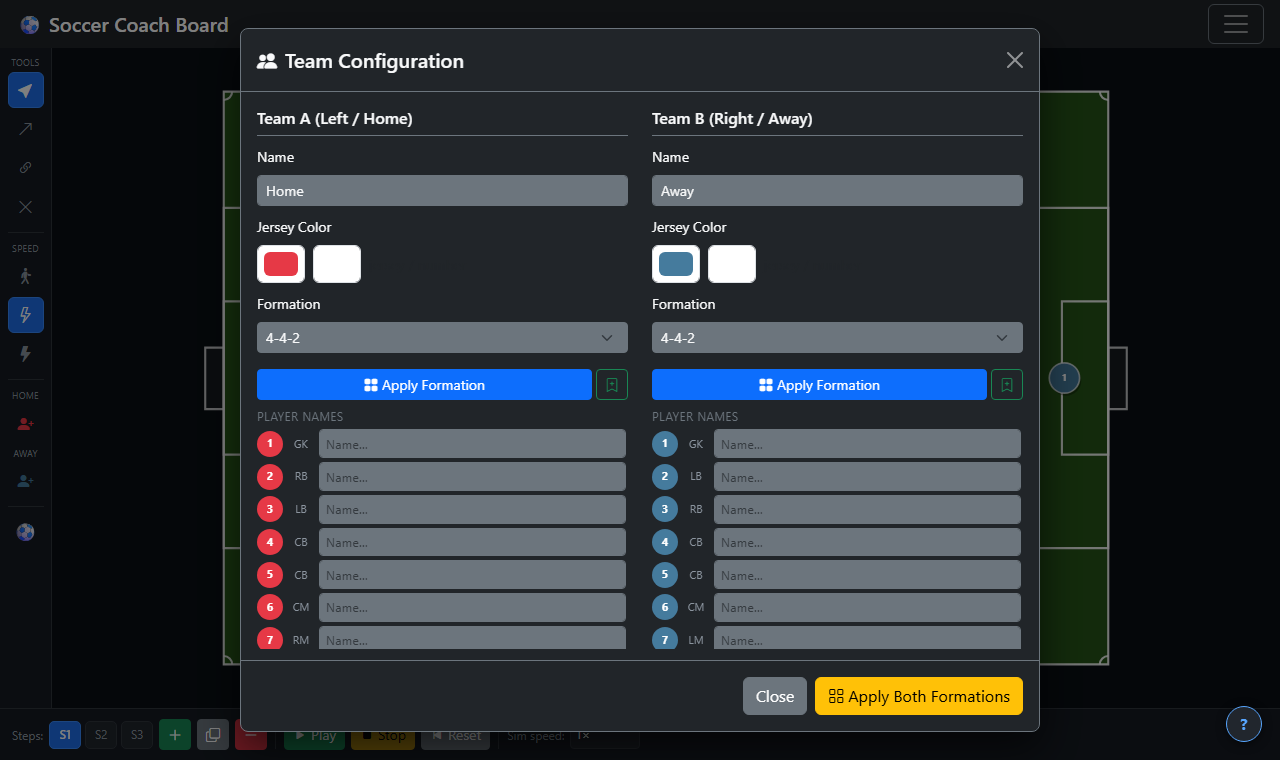
The Teams panel — configure names, jersey colors, and formations for both teams.
Saving Boards
Save your entire board — all steps, arrows, player positions, ball state, connection lines, and team config — to the cloud so you can return to it later.
Saving
- Click Save in the top menu.
- If the board has never been saved, the My Boards panel opens. Enter a name and click Save.
- For a board you've already saved, clicking Save re-saves it immediately. A brief green confirmation appears on the Save button to confirm.
- Click Save As New to create a copy under a new name.
Loading
- Open Boards in the top menu.
- Click Load next to any saved board to restore it. The current board will be replaced.
Deleting
- Open Boards, click Delete next to the board you want to remove. You'll be asked to confirm.
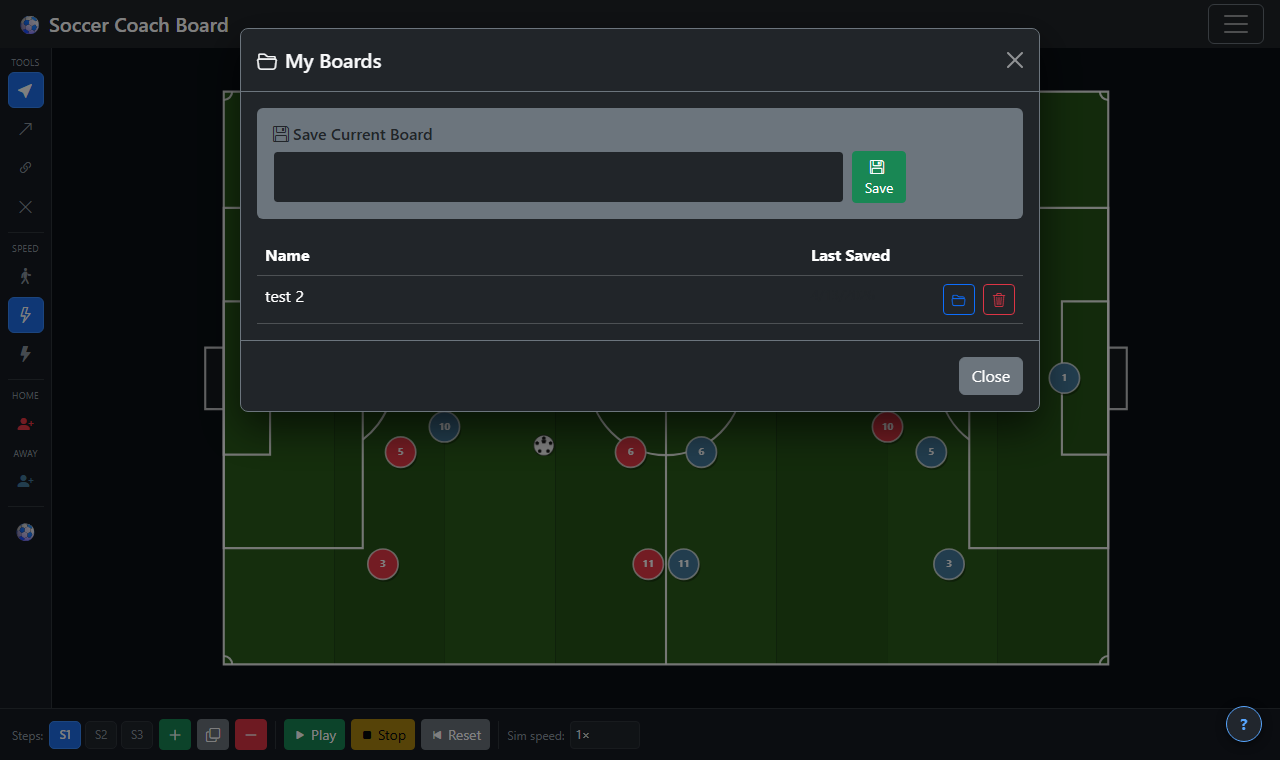
The My Boards panel — load, save, or delete saved boards.
Export
Open the Export dropdown in the top menu:
Snapshot (PNG)
Saves a high-resolution PNG image of the current field view. The snapshot captures all visible layers: field, players, ball, arrows, and connection lines. Pixel ratio is 2× for sharp output on high-DPI screens.
Animation (WebM)
Records a WebM video of the simulation playing through all steps from step 1 to the last step. The recording:
- Uses full native resolution (accounts for your screen's device pixel ratio).
- Records at 30 fps with 8 Mbps bitrate for sharp, smooth output.
- Automatically starts from step 1 and stops when all steps have played.
- Restores your view to wherever you were after the recording finishes.

The Export dropdown — Snapshot (PNG) and Animation (WebM) options.
Experimental Game AI EXP
The Experimental Game AI automatically generates movement arrows for Team B in response to the arrows you draw for Team A. It is intended to help coaches visualise realistic opposing reactions to their plays without manually placing every defender.
How to Use It
- Click the 🤖 button in the left toolbar to enable Game AI. It will glow purple when active.
- Draw your Team A arrows as normal for a step.
- Click 🤖 AI Response in the steps panel. Team B arrows are generated instantly.
- Choose a different AI Model from the dropdown to the right of the button and click AI Response again to regenerate with a different tactical style.
- You can manually edit or delete any generated arrow after it is placed.
The AI reacts to projected positions — it reads where Team A players will be at the end of the step (their arrow destinations), not where they started. This means defenders will intercept runners, not chase where they were.
After generating arrows, a spacing pass ensures no two Team B players are assigned overlapping destinations — they will always be spread apart by at least one player-width.
AI Models
Select a model from the dropdown to change Team B's tactical approach.
| Model | Tactical Philosophy | On Defense (A has ball) | On Offense (B has ball) |
|---|---|---|---|
| Standard | Rules-based balanced play | Man-marks nearest threats; closest midfielder presses ball carrier; forwards drop to press from front | Ball carrier drives toward goal; forwards make channel/box runs; midfielders advance in support |
| High Press | Aggressive high line; press everywhere | Entire team pushes up — defenders hold a high line near midfield; midfielders and forwards swarm ball carrier and close passing lanes | Stays high; attacks directly and at pace |
| Low Block | "Parking the bus" — deny space | All players drop into two compact banks deep in own half; shape slides toward ball side; no pressing | Stays disciplined; one forward makes a targeted run, others hold shape |
| Counter-Attack | Patient defense; explosive transition | Compact deep block like Low Block, but one forward stays high ready to receive | Ball carrier sprints at goal; forwards make diagonal runs in behind defensive line; one midfielder joins counter; rest hold as security |
| Zonal Marking | Shape-based defending | Entire shape slides laterally as a unit toward the ball; no individual man-marking — players cover zones | Patient advancement; ball carrier moves moderately; others advance while maintaining shape width |
| Gegenpressing | Immediate counter-press after losing ball | Nearest 3–4 players sprint to converge on where the ball carrier will be; rest form a compact support shape behind them | Ball carrier drives forward; outfield players form passing triangles (~100 px away) for quick recycling options |
| Tiki-Taka | Patient possession; short passing triangles | Ordered positional coverage; one forward makes a soft press to cut a lane; rest hold compact shape without sprinting | Ball carrier makes a short unhurried movement; midfielders form triangles around the carrier; forwards stretch wide to create space |
Keyboard Shortcuts
| Key | Action |
|---|---|
| V | Select tool |
| A | Arrow tool |
| C | Connect tool |
| D | Delete tool |
| Esc | Cancel current action / deselect |
| Delete / Backspace | Delete selected player or arrow |